Difference between revisions of "Export"
| (One intermediate revision by the same user not shown) | |||
| Line 1: | Line 1: | ||
==Description== | ==Description== | ||
| − | The export plug-in allows parts to be exported to '''.stp/step''', '''.igs/.iges''', '''.brep''', '''.csv''', '''.txt''' | + | The export plug-in allows parts to be exported to '''.stp/step''', '''.igs/.iges''', '''.brep''', '''.csv''', or '''.txt''' files. Once parts are exported, they can be used with other external software programs. |
| Line 82: | Line 82: | ||
| − | '''2.)''' Click the '''export menu''' on the '''main tool bar''' and select the '''.txt/.*''' option. The '''.*''' refers to any custom file extensions that can be set using the [[Export | + | '''2.)''' Click the '''export menu''' on the '''main tool bar''' and select the '''.txt/.*''' option. The '''.*''' refers to any custom file extensions that can be set using the [[Export Template|export template]] library. |
[[File:export11.png|350px]] | [[File:export11.png|350px]] | ||
Latest revision as of 13:53, 16 July 2013
Description
The export plug-in allows parts to be exported to .stp/step, .igs/.iges, .brep, .csv, or .txt files. Once parts are exported, they can be used with other external software programs.
How To
STEP/IGES/BREP
To export a part to a .stp/.step, .igs/.iges, or .brep file, follow these steps:
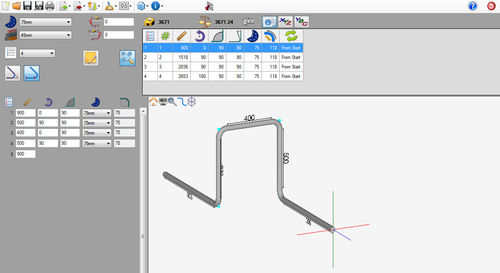
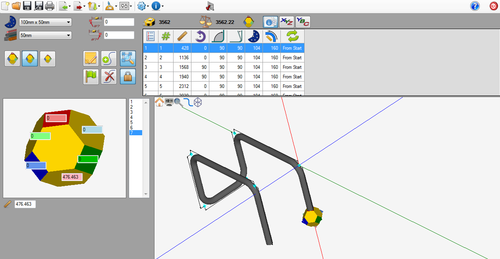
1.) First, design the part in any of the part designers.
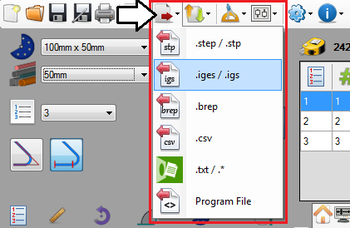
2.) Click the export menu on the main tool bar and select which file format to export the part as (.step, .iges, or .brep).
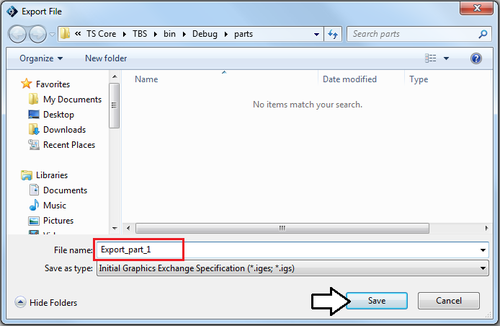
3.) Give the file a name and click the save button.
4.) The file is now exported!
CSV
To export a part to a .csv file, follow these steps:
1.) First, design the part in any of the part designers.
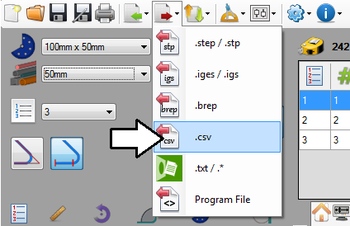
2.) Click the export menu on the main tool bar and select the .csv option.
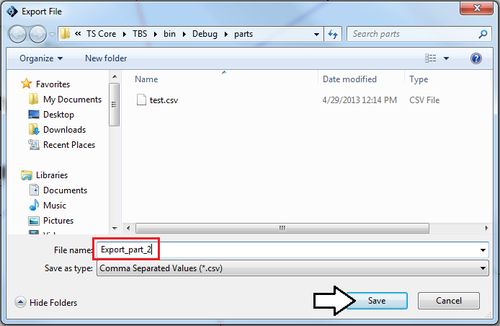
3.) Give the file a name and click the save button.
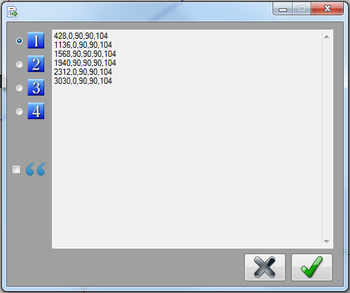
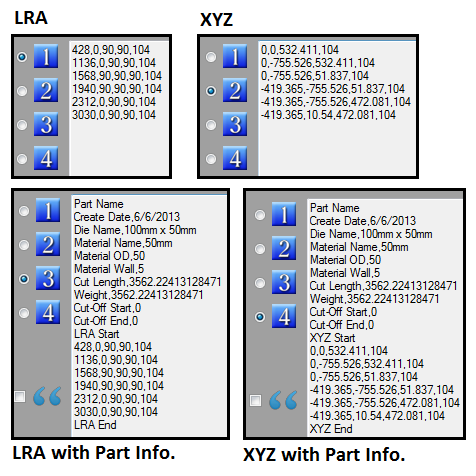
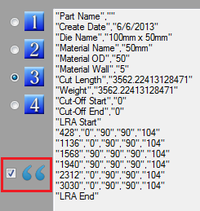
The option to have each value/attribute surrounded by quotation marks is also available. Click the check mark next to the quote icon to add quotation marks. See image below.
5.) Once all the format options have been selected, click the green check button to finalize the export. The file has now been successfully exported!
TXT or Custom Template
To export a file to a .txt or a custom template file, follow these steps:
1.) First, design the part in any of the part designers.
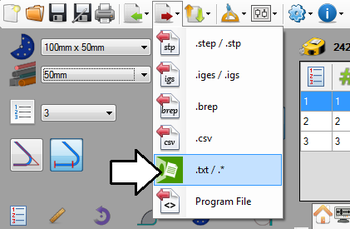
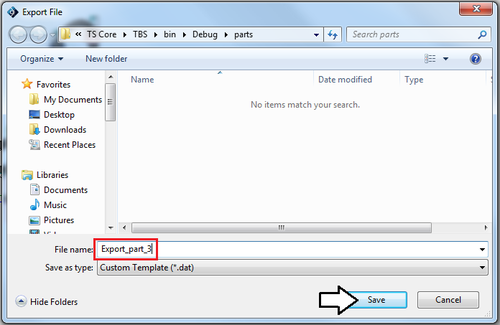
2.) Click the export menu on the main tool bar and select the .txt/.* option. The .* refers to any custom file extensions that can be set using the export template library.
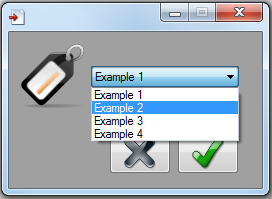
3.) A message box will open where an export template can be chosen. Click the drop down menu and select a template from the list. This will determine what kind of information about the part is included in the file as well as how the part information is formatted in the file. These templates are created using the Export Template plug-in. For information on how to create an export template, see the Export Template page. Click the green check to confirm the template and proceed.
4.) Give the file a name and click the save button.
5.) The file has been successfully exported!
