Difference between revisions of "Simulation Tutorial"
(Created page with "==Introduction== ==Tutorial== ==='''Step 1'''=== ==='''Step 2'''=== ==='''Step 3'''===") |
|||
| Line 1: | Line 1: | ||
==Introduction== | ==Introduction== | ||
| + | [[File:simtut01.png|right|500px]]This tutorial will step through the features and functions of the [[Simulation|simulation]] plug-in. | ||
| + | |||
| + | |||
| + | The simulation plug-in is used to watch a basic animation of the part being bent, to adjust the bending order, and to save or print screen shots of any part of the bending sequence. | ||
| + | |||
| + | |||
| + | |||
| + | |||
| + | |||
| + | |||
| + | |||
| + | |||
| + | |||
| + | |||
| + | |||
| + | |||
| + | |||
| + | |||
| + | |||
| + | |||
| Line 5: | Line 25: | ||
==Tutorial== | ==Tutorial== | ||
| + | |||
| + | ==='''Note'''=== | ||
| + | Before starting the tutorial, a part must be created. This tutorial will be using the part that was created in the '''[[Template Designer Tutorial]]'''. '''Please complete the Template Designer tutorial before proceeding'''. | ||
| + | |||
| + | |||
| + | |||
| + | |||
==='''Step 1'''=== | ==='''Step 1'''=== | ||
| + | Once the part is complete, go up to the top of the window and click the tools menu. Select the simulation option from the drop down menu to access the simulation plug-in. | ||
| + | |||
| + | [[File:simtut03.png]] | ||
| + | |||
| + | |||
| + | |||
| + | |||
| + | |||
==='''Step 2'''=== | ==='''Step 2'''=== | ||
| + | '''This will open the simulation plug-in window'''. To the left, there will be a chart containing the current bend order. Below the bend order chart, there will be bend order buttons that are used to adjust the bending order. Below those buttons, there will be three animation speed control settings. To the right of the window, there will be a frame containing the part and the die. This is where the simulation of part being bent will be displayed. Below the simulation frame, there will be buttons used to control the animation, change the bender type, and print or save the current position of the animation. | ||
| + | |||
| + | |||
| + | [[File:simtut04.png|600px]] | ||
| + | |||
| + | |||
| + | |||
| + | |||
| + | |||
==='''Step 3'''=== | ==='''Step 3'''=== | ||
| + | '''First, the bending order will be adjusted'''. '''Click the reverse bend order button'''. The bend order will now start from the end of the part and begin bending with the second bend and end with the first bend. Each bend will be bent from the ending edge of the bend. | ||
| + | |||
| + | [[File:simtut05.png|600px]] | ||
| + | |||
| + | |||
| + | |||
| + | |||
| + | |||
| + | ==='''Step 4'''=== | ||
| + | Next, | ||
Revision as of 10:30, 12 July 2013
Introduction
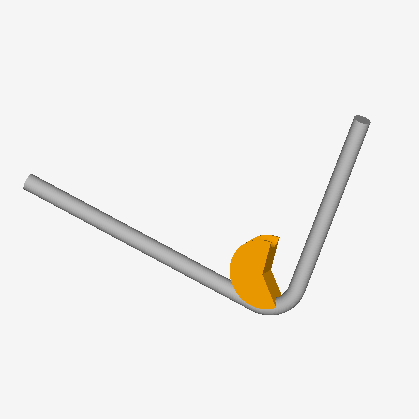
This tutorial will step through the features and functions of the simulation plug-in.
The simulation plug-in is used to watch a basic animation of the part being bent, to adjust the bending order, and to save or print screen shots of any part of the bending sequence.
Tutorial
Note
Before starting the tutorial, a part must be created. This tutorial will be using the part that was created in the Template Designer Tutorial. Please complete the Template Designer tutorial before proceeding.
Step 1
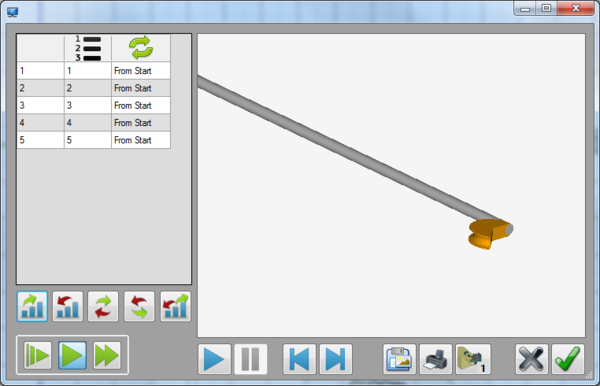
Once the part is complete, go up to the top of the window and click the tools menu. Select the simulation option from the drop down menu to access the simulation plug-in.
Step 2
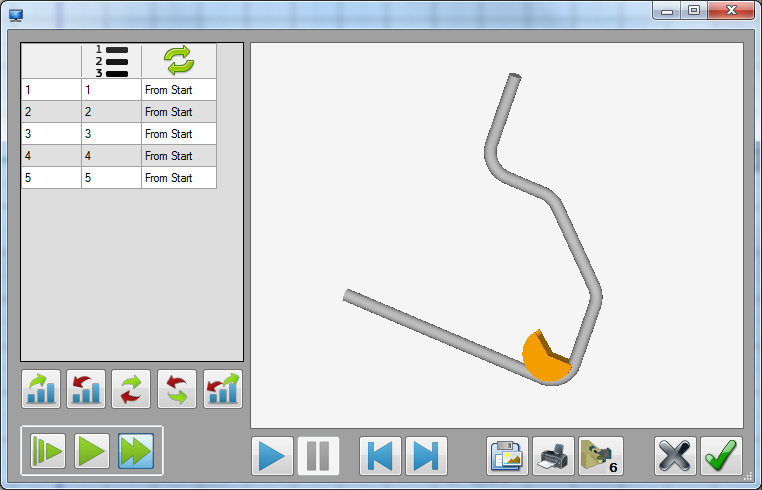
This will open the simulation plug-in window. To the left, there will be a chart containing the current bend order. Below the bend order chart, there will be bend order buttons that are used to adjust the bending order. Below those buttons, there will be three animation speed control settings. To the right of the window, there will be a frame containing the part and the die. This is where the simulation of part being bent will be displayed. Below the simulation frame, there will be buttons used to control the animation, change the bender type, and print or save the current position of the animation.
Step 3
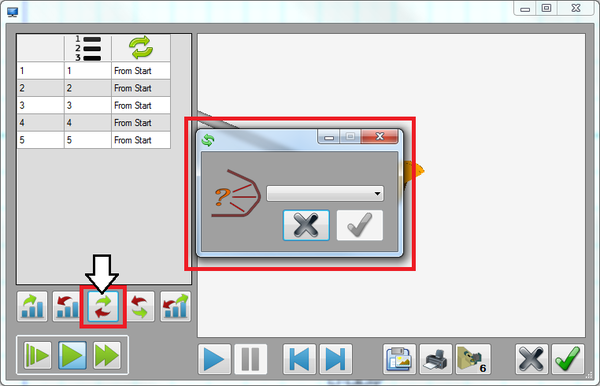
First, the bending order will be adjusted. Click the reverse bend order button. The bend order will now start from the end of the part and begin bending with the second bend and end with the first bend. Each bend will be bent from the ending edge of the bend.
Step 4
Next,


