Linear Dynamic Designer Quick Start
Contents
Add Bend
Adding a bend can be done two different ways:
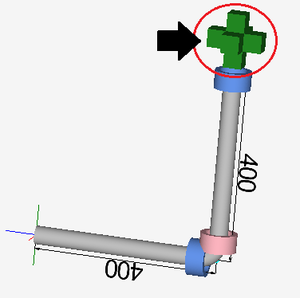
1.) By clicking the green plus symbol at the end of the part.
2.) By clicking the add bend button. ![]()
Remove Bend
To remove the last bend added to the part, click the delete bend button. ![]()
Adjust Lengths
The length can be adjusted using any of the 3 following methods:
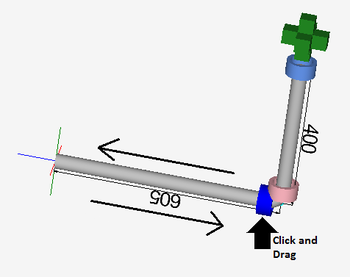
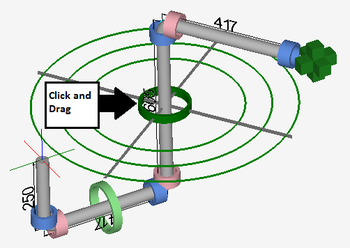
1.) By clicking on the blue ring at the end of the straight length and dragging it to the correct length.
2.) By clicking on and/or dragging the blue ring and the end of the straight length and keying in the length value.
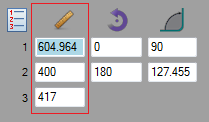
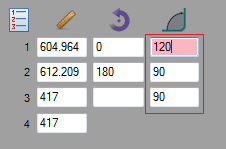
3.) By entering a value into the length field on the left panel.
Adjust Angles
The angle of a bend can be adjusted using any of the 3 following methods:
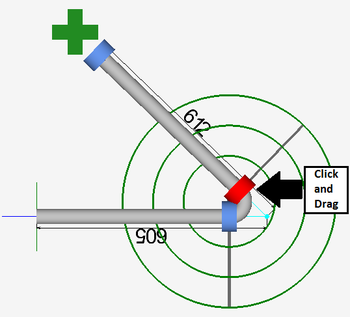
1.) By clicking on and dragging the pink ring to the correct angle.
2.) By clicking on and/or dragging the pink ring and keying in the angle value.
3.) By entering a value in the angle field in the left panel.
Adjust Rotation
The rotation can be adjusted using any of the 3 following methods:
1.) By clicking on the green ring and dragging it around to rotate the following bend(s).
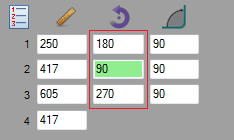
2.) By clicking on and/or dragging the green ring and keying in the rotation value.
3.) By entering a value into the rotation field in the left panel.
Dimension Types
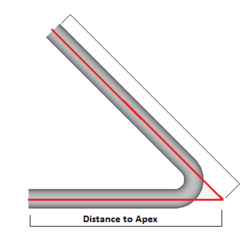
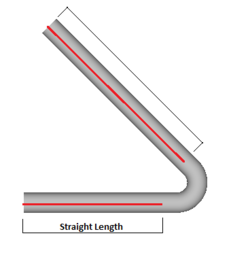
The way the dimensions are measured can be changed using the dimension buttons. Click on either distance to apex ![]() or length of straight
or length of straight ![]() to set the dimension type.
to set the dimension type.
Start Over
To completely start over and delete all bend information, click the start over button. ![]() Take caution when using this function. Once a part has been started over, its information cannot be retrieved again.
Take caution when using this function. Once a part has been started over, its information cannot be retrieved again.
180° Bends
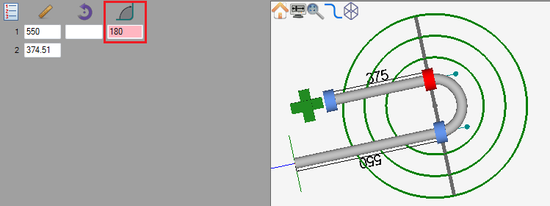
In the linear dynamic designer, 180° bends are handled like any other kind of bend. To add a 180° bend, use one of the following methods:
1.) Enter 180 into the angle field in the left panel.
2.) Click on the pink ring and key in "180" on the keyboard.
