Difference between revisions of "Linear 2D Designer Quick Start"
| Line 30: | Line 30: | ||
'''Bend angles can be adjusted''' by '''entering new angle values''' into the angle fields in the left panel. | '''Bend angles can be adjusted''' by '''entering new angle values''' into the angle fields in the left panel. | ||
| − | [[File: | + | [[File:angles2d.png|550px]] |
Revision as of 13:58, 28 May 2013
Contents
Add Bend
Adding a bend can be done two different ways:
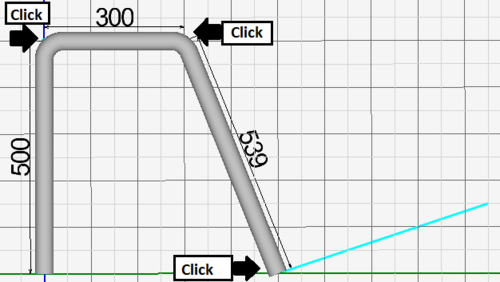
1.) While the part is being designed, each click of the mouse will place a new bend. (The start and end length of the part are an exception.)
2.) After the finish button has been clicked and the part is not currently being designed, the add bend button ![]() will become available. Click it to add a new bend. Once clicked, the part will be in design mode again and a blue line will be attached to the end of the part. In the part display, click the new end location of the part. If necessary, continue to pick further points to add more bends.
will become available. Click it to add a new bend. Once clicked, the part will be in design mode again and a blue line will be attached to the end of the part. In the part display, click the new end location of the part. If necessary, continue to pick further points to add more bends.
Remove Bend
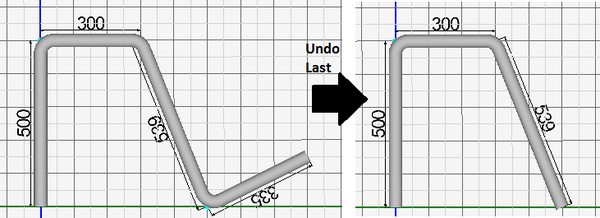
While the part is being designed, the undo last ![]() button can be clicked to remove the last bend on the part.
button can be clicked to remove the last bend on the part.
Adjust Lengths
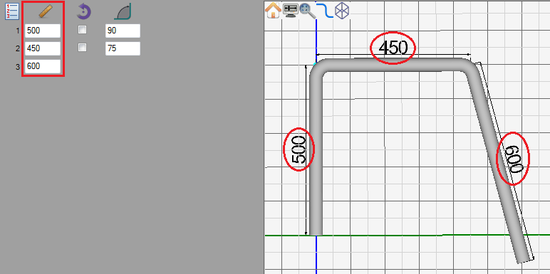
To adjust the length of a straight section, enter a new value into the corresponding length field in the left panel.
Adjust Angles
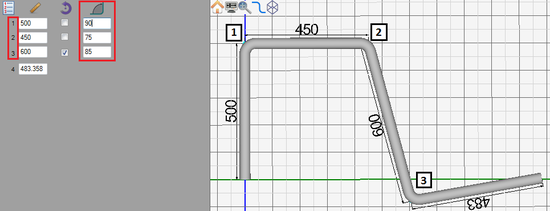
Bend angles can be adjusted by entering new angle values into the angle fields in the left panel.


