Linear Advanced Designer Quick Start
Contents
Add/Remove Bends
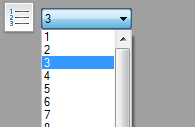
The number of bends in a part is chosen from the bend number drop down menu in the left panel. To increase or decrease the number of bends, click the drop down menu and choose a number from the list.
Adjust Lengths
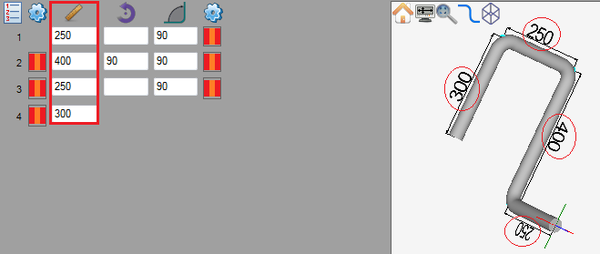
To change the length of a straight, enter a new value into the corresponding length field in the designer entry fields on the left panel.
Adjust Angles
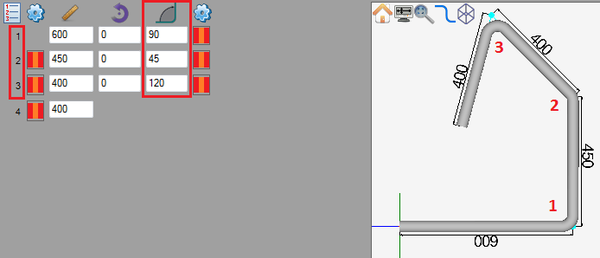
To change the angle of a bend, enter a new value into the corresponding angle field in the designer entry fields on the left panel.
Adjust Rotation
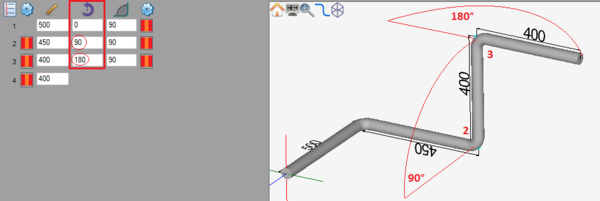
To adjust the rotation, enter a new value into the rotation field in the designer entry fields on the left panel. Note: Leaving a rotation field blank will have the same effect as a zero.
Dimension Types
In the linear dynamic designer, there is the ability to change the way each end of a dimension is measured. Each bend has a dimension type for each end of the length before the bend.
The first dimension icon after the first row in the designer entry fields determines the dimension type for the end of the dimension directly before the first bend. The following dimension icons on either end of the bend rows determine the dimension types for each end of the bends. The last dimension icon determines the dimension type for the end of the dimension directly after the last bend.
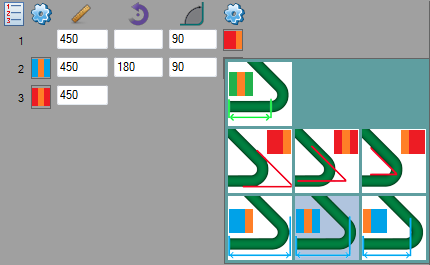
To change the dimension type, click on the dimension icon. The dimension type menu will open and a type can be selected by clicking on one of the dimension type tiles.
 Outside Perpendicular: The dimension goes along the tube to the perpendicular point on the outside of the bend. (Note: Should be used on bends of 90° or greater for it to have an effect.)
 Center-line Perpendicular: The dimension goes along the tube to the perpendicular point in the center of the bend. (Note: Should be used on bends of 90° or greater for it to have an effect.)
 Inside Perpendicular: The dimension goes along the tube to the perpendicular point on the inside of the bend. (Note: Should be used on bends of 90° or greater for it to have an effect.)
180° Bends
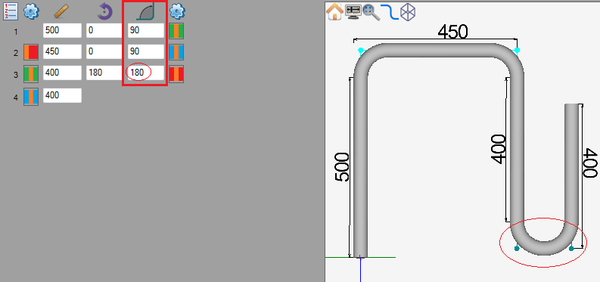
In the linear advanced designer, 180° bends are handled the same as any other bend.
To add a 180° bend, enter "180" into the angle field on the left panel.
