Difference between revisions of "Spring-back Charts Tutorial"
(Created page with "==Introduction== right|500px This tutorial will step through the functions of the spring-back charts plug-in and the process of ad...") |
(No difference)
|
Revision as of 14:30, 15 July 2013
Introduction
This tutorial will step through the functions of the spring-back charts plug-in and the process of adding spring-back entries to the chart.
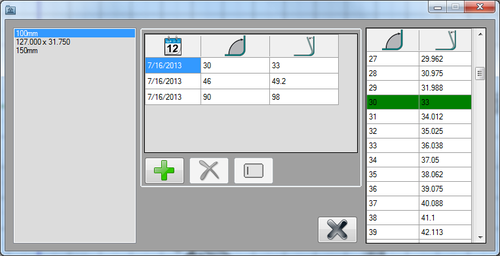
The spring-back charts plug-in is used to record the attempted and achieved bend angles for each individual die. Once at least 2 entries are added, a full chart of spring-back and achieved angles ranging from 1° to 180° will be generated.
Tutorial
Note
Before starting the tutorial, a part and a die must be created. This tutorial will be using the part that was created in the Linear 2D Designer Tutorial and the die that was created in the Die Library Tutorial. Please complete both the Linear 2D Designer and die library tutorials before proceeding.
Step 1
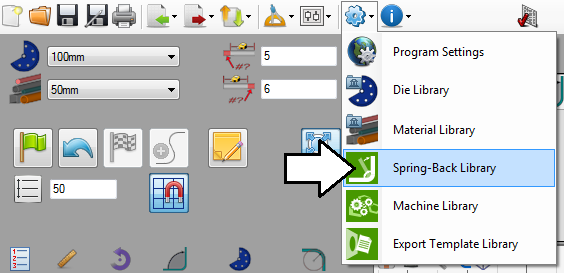
First, open the spring-back charts plug-in. Go up to the top of the window and click the settings menu. Select the spring-back charts option from the drop down menu.
Step 2
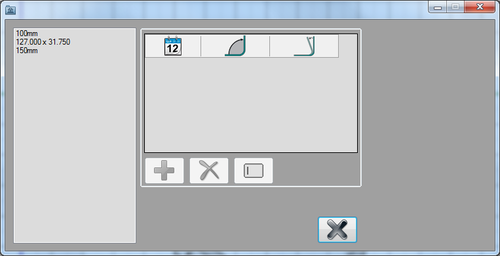
This will open the spring-back charts window. On the far right, there will be a list of each die. In the middle, spring-back entries can be added once a die is selected.


