Harpoon Designer Tutorial
Introduction
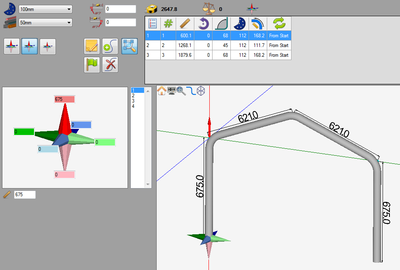
This tutorial will step through the process of designing a part (Shown to the right) in the harpoon part designer interface.While designing a part in the harpoon designer, the die and material are chosen and the part is designed by clicking and dragging the part from the harpoon tool.
Note: This tutorial will use millimeters as the measurement units.
Tutorial
Step 1
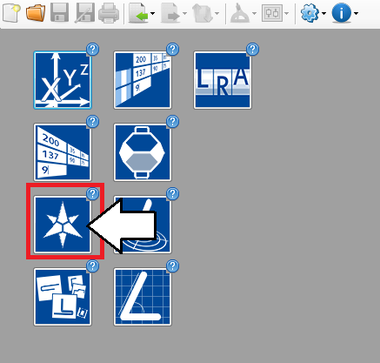
First, a new harpoon part design needs to be started. On the start up page, click the harpoon designer button. 
Note: Depending on the version of software currently in use, fewer designer buttons may be included on the start up page.
Step 2
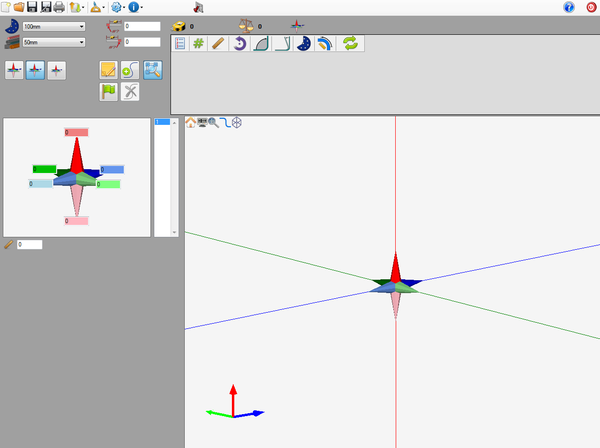
Now a new harpoon part designer window will open. This is where the part will be designed.
Step 3
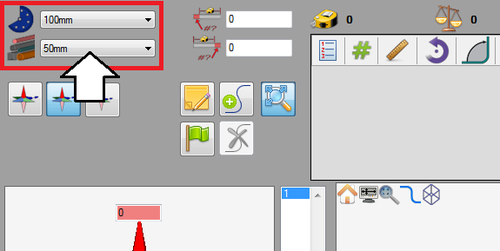
First of all, the die and material need to to be chosen. The die and material menus are located in the upper left corner of the designer window.
Choose a die by clicking the drop down menu next to the die icon. Select the 100mm die from the list, as shown in the image below. (Note: This die was made in the Die Library Tutorial. If this die is not shown in the die selection menu, please complete the die library tutorial before proceeding.)
Choose a material by clicking the drop down menu next to the material icon. Select the 50mm material from the list, as shown in the image below. (Note: This material was made in the Material Library Tutorial. If this material is not shown in the material selection menu, please complete the material library tutorial before proceeding.)


