Import Tutorial
Contents
Introduction
This tutorial will step through the process of importing a basic part using the import plug-in.The import plug-in is used to bring .step/.stp, .iges/.igs, .brep part files into the software.
Tutorial
Note
Before starting this tutorial, a part must be exported first. This tutorial will be using the part file that was created in the Linear 2D Designer Tutorial and then exported in the Export Tutorial. Please complete the Linear 2D designer tutorial and the export tutorial before proceeding.
Step 1
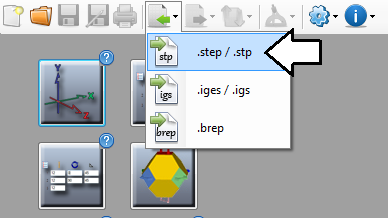
First, go up to the top of the window and click the import menu. Select the .step/.stp option from the list.
Step 2
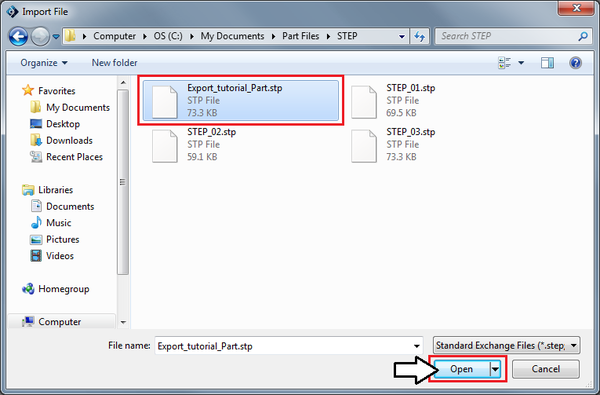
This will open the import file window where a file can be selected to import. Locate the Export_Tutorial_Part.stp file and click on it. Click the open button to move on to the next step.
Step 3
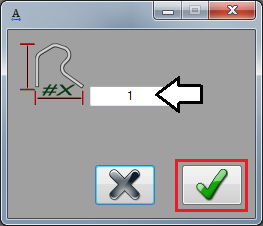
Next, another smaller window will appear. This is used to apply a scale to a part. This would only really be necessary if the part was created in measurement units different from the software. Make sure the number shown in the field is 1. Click the green check button.
Step 4
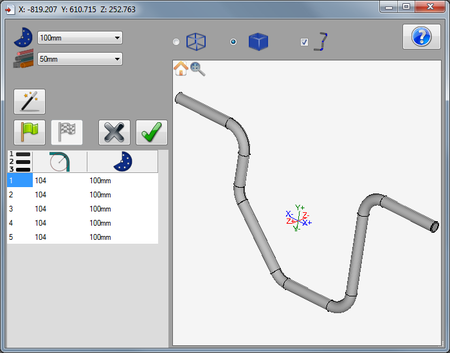
Now the import window will open. The part should be be automatically defined. The die and material that the part was created with will be selected in the die and material menus. The complete part will be generated in the part display and bend chart will list each bend along with its CLR and die.
Step 5
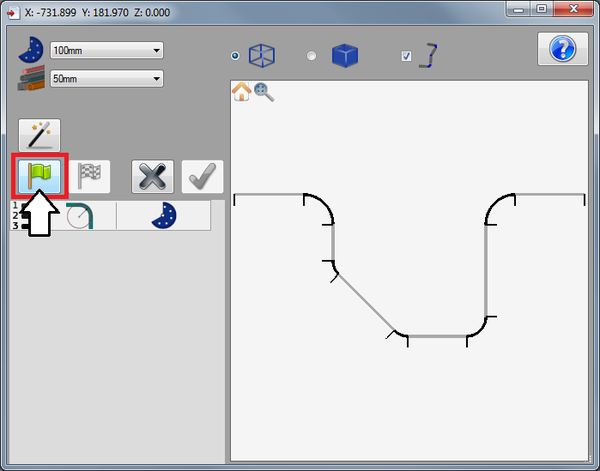
Now, the part will be re-defined by manually selecting features. First, click the start button (green flag).
Step 6
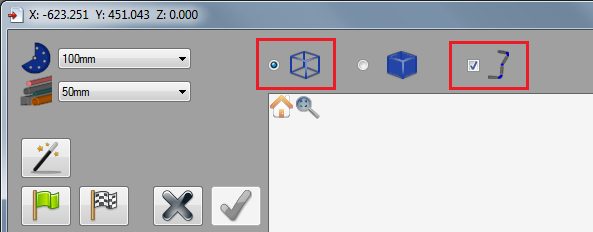
Now, at the top of the window, there are options that control how the part is displayed. Click the wire frame option and check the box next to the show part icon. The show part option will allow each part to be generated in the selected material as each section is defined.
Step 7
Next, the part will be defined using the circles and lines method.
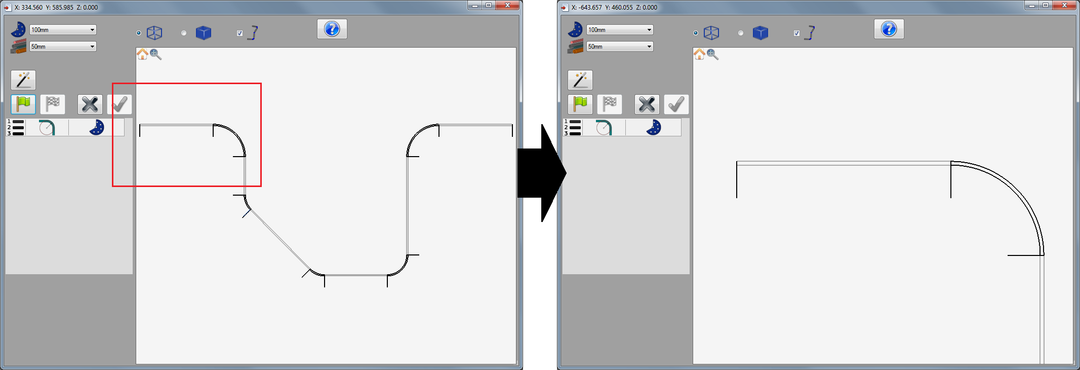
First, click the reset/home icon ![]() in the upper left corner of the display frame.
in the upper left corner of the display frame.
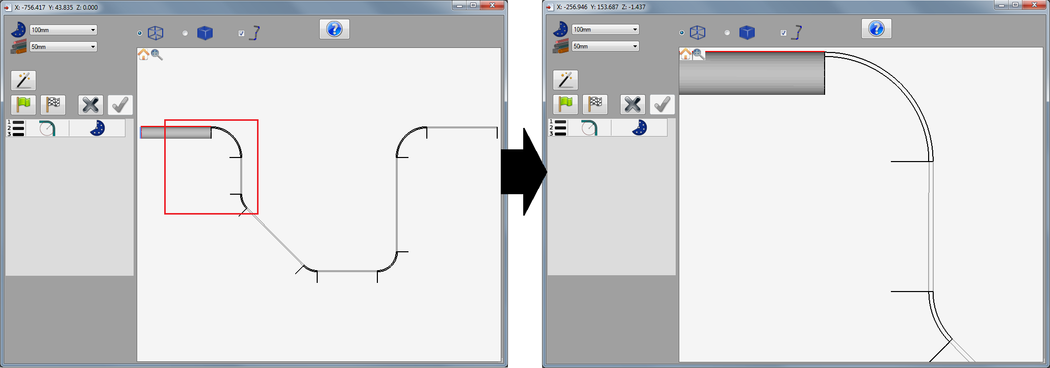
Now zoom in on the first length of the part on the left. To zoom in, first click within the part display frame then either use the mouse scroll wheel or press the plus [+] button on the keyboard. Adjust the view of the part so it looks somewhat like the image below on the right. Move/pan the part by holding both mouse buttons down and moving the cursor or by using the num pad keys (8 to move up, 2 to move down, 4 to move left, and 6 to move right).
Step 8
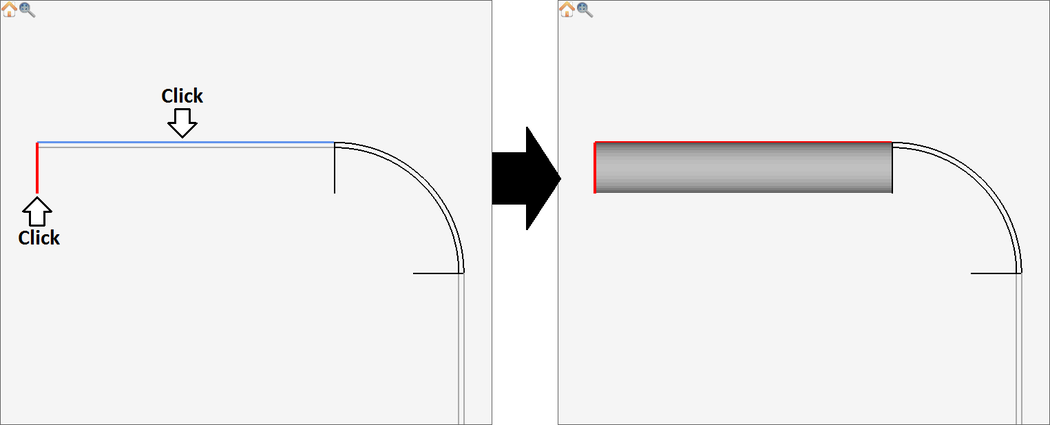
Now, the first length of the part will be defined. Click on the the outside circle feature at the starting end of the part to select it. Next, click the outside line that connects to the circle that was just selected. Once each feature is selected, the part length will be generated as shown below.
Step 9
Now, click the home icon ![]() again. Then zoom in on the second straight length of the part, as shown below.
again. Then zoom in on the second straight length of the part, as shown below.
